- Documentation Library
- Table of Contents
- MySQL 5.0 Manual
- Table of Contents
- 25.1.2 Connector/ODBC Installation
- 25.1.2.1 Where to Get Connector/ODBC
- 25.1.2.2 Supported Platforms
- 25.1.2.3 Installing Connector/ODBC from a binary distribution
- 25.1.2.4 Installing Connector/ODBC from a source distribution
[+/-]
Using a binary distribution offers the most straightforward method for installing Connector/ODBC. If you want more control over the driver, the installation location and or to customize elements of the driver you will need to build and install from the source. See the Sección 25.1.2.4, “Installing Connector/ODBC from a source distribution”.
[+/-]
Before installing the Connector/ODBC drivers on Windows you should ensure that your Microsoft Data Access Components (MDAC) are up to date. You can obtain the latest version from the Microsoft Data Access and Storage Web site.
There are three available distribution types to use when installing for Windows. The contents in each case are identical, it is only the installation method which is different.
Zipped installer consists of a Zipped package containing a standalone installation application. To install from this package, you must unzip the installer, and then run the installation application. See Sección 25.1.2.3.1.1, “Installing the Windows Connector/ODBC Driver using an installer” to complete the installation.
MSI installer, an installation file that can be used with the installer included in Windows 2000, Windows XP and Windows Server 2003. See Sección 25.1.2.3.1.1, “Installing the Windows Connector/ODBC Driver using an installer” to complete the installation.
Zipped DLL package, containing the DLL files that need must be manually installed. See Sección 25.1.2.3.1.2, “Installing the Windows Connector/ODBC Driver using the Zipped DLL package” to complete the installation.
The installer packages offer a very simple method for installing the Connector/ODBC drivers. If you have downloaded the zipped installer then you must extract the installer application. The basic installation process is identical for both installers.
You should follow these steps to complete the installation:
Double click on the standalone installer that you extracted, or the MSI file you downloaded.
-
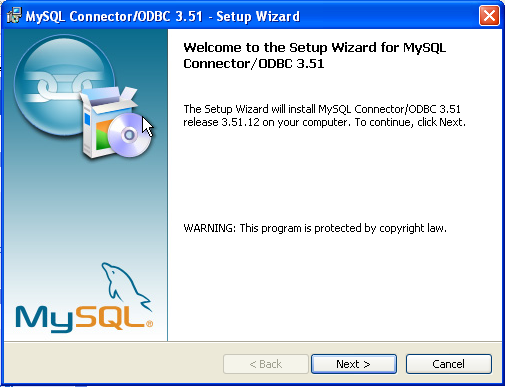
The MySQL Connector/ODBC 3.51 - Setup Wizard will start. Click the Next button to begin the installation process.
-
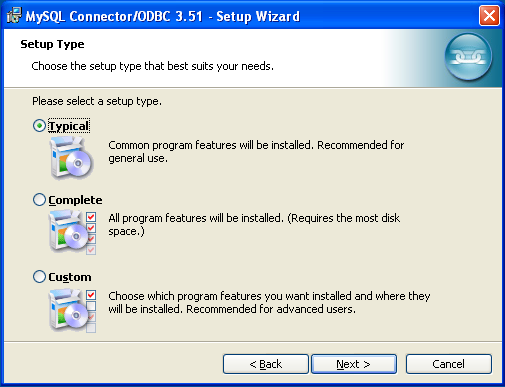
You will need to choose the installation type. The Typical installation provides the standard files you will need to connect to a MySQL database using ODBC. The Complete option installs all the available files, including debug and utility components. It is recommended you choose one of these two options to complete the installation. If choose one of these methods, click Next and then proceed to step 5.
You may also choose a Custom installation, which enables you to select the individual components that you want to install. You have chosen this method, click Next and then proceed to step 4.
-
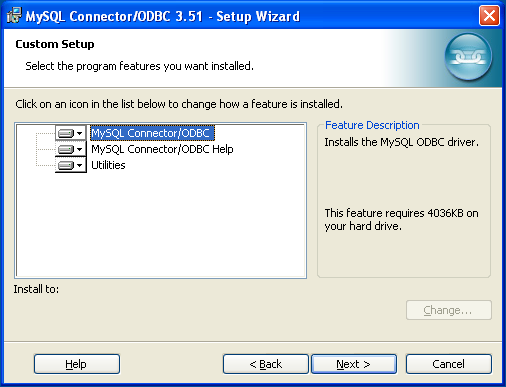
If you have chosen a custom installation, use the popups to select which components to install and then click Next to install the necessary files.
-
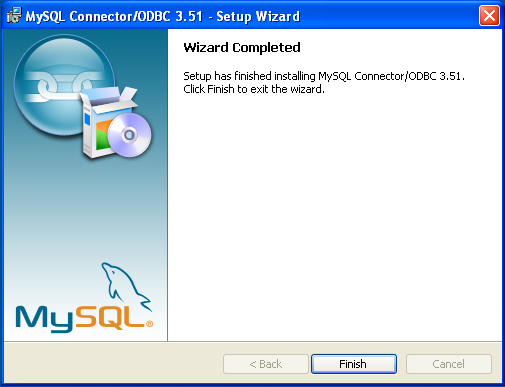
Once the files have copied to your machine, the installation is complete. Click Finish to exit the installer.
Now the installation is complete, you can continue to configure your ODBC connections using Sección 25.1.3, “Connector/ODBC Configuration”.
If you have downloaded the Zipped DLL package then you must install the individual files required for Connector/ODBC operation manually. Once you have unzipped the installation files, you can either perform this operation by hand, executing each statement individually, or you can use the included Batch file to perform an installation to the default locations.
To install using the Batch file:
Unzip the Connector/ODBC Zipped DLL package.
Open a Command Prompt.
Change to the directory created when you unzipped the Connector/ODBC Zipped DLL package.
-
Run
Install.bat:C:\>
Install.batThis will copy the necessary files into the default location, and then register the Connector/ODBC driver with the Windows ODBC manager.
If you want to copy the files to an alternative location - for example, to run or test different versions of the Connector/ODBC driver on the same machine, then you must copy the files by hand. It is however not recommended to install these files in a non-standard location. To copy the files by hand to the default installation location use the following steps:
Unzip the Connector/ODBC Zipped DLL package.
Open a Command Prompt.
Change to the directory created when you unzipped the Connector/ODBC Zipped DLL package.
-
Copy the library files to a suitable directory. The default is to copy them into the default Windows system directory
\Windows\System32:C:\>
copy lib\myodbc3S.dll \Windows\System32C:\>copy lib\myodbc3S.lib \Windows\System32C:\>copy lib\myodbc3.dll \Windows\System32C:\>copy lib\myodbc3.lib \Windows\System32 -
Copy the Connector/ODBC tools. These must be placed into a directory that is in the system
PATH. The default is to install these into the Windows system directory\Windows\System32:C:\>
copy bin\myodbc3i.exe \Windows\System32C:\>copy bin\myodbc3m.exe \Windows\System32C:\>copy bin\myodbc3c.exe \Windows\System32 -
Optionally copy the help files. For these files to be accessible through the help system, they must be installed in the Windows system directory:
C:\>
copy doc\*.hlp \Windows\System32 -
Finally, you must register the Connector/ODBC driver with the ODBC manager:
C:\> myodbc3i -a -d -t"MySQL ODBC 3.51 Driver;\
  DRIVER=myodbc3.dll;SETUP=myodbc3S.dll"
You must change the references to the DLL files and command location in the above statement if you have not installed these files into the default location.
On Windows, you may get the following error when trying to install the older MyODBC 2.50 driver:
An error occurred while copying C:\WINDOWS\SYSTEM\MFC30.DLL.
Restart Windows and try installing again (before running any
applications which use ODBC)
The reason for the error is that another application is
currently using the ODBC system. Windows may not allow you
to complete the installation. In most cases, you can
continue by pressing Ignore to copy the
rest of the Connector/ODBC files and the final installation
should still work. If it doesn't, the solution is to re-boot
your computer in “safe mode.” Choose safe mode
by pressing F8 just before your machine starts Windows
during re-booting, install the Connector/ODBC drivers, and
re-boot to normal mode.
[+/-]
There are two methods available for installing Connector/ODBC on Unix from a binary distribution. For most Unix environments you will need to use the tarball distribution. For Linux systems, there is also an RPM distribution available.
To install the driver from a tarball distribution
(.tar.gz file), download the latest
version of the driver for your operating system and follow
these steps that demonstrate the process using the Linux
version of the tarball:
shell>su rootshell>gunzip mysql-connector-odbc-3.51.11-i686-pc-linux.tar.gzshell>tar xvf mysql-connector-odbc-3.51.11-i686-pc-linux.tarshell>cd mysql-connector-odbc-3.51.11-i686-pc-linux
Read the installation instructions in the
INSTALL-BINARY file and execute these
commands.
shell>cp libmyodbc* /usr/local/libshell>cp odbc.ini /usr/local/etcshell>export ODBCINI=/usr/local/etc/odbc.ini
Then proceed on to
Sección 25.1.3.4, “Configuring a Connector/ODBC DSN on Unix”,
to configure the DSN for Connector/ODBC. For more
information, refer to the
INSTALL-BINARY file that comes with
your distribution.
To install or upgrade Connector/ODBC from an RPM
distribution on Linux, simply download the RPM distribution
of the latest version of Connector/ODBC and follow the
instructions below. Use su root to become
root, then install the RPM file.
If you are installing for the first time:
shell>su rootshell>rpm -ivh mysql-connector-odbc-3.51.12.i386.rpm
If the driver exists, upgrade it like this:
shell>su rootshell>rpm -Uvh mysql-connector-odbc-3.51.12.i386.rpm
If there is any dependency error for MySQL client library,
libmysqlclient, simply ignore it by
supplying the --nodeps option, and then
make sure the MySQL client shared library is in the path or
set through LD_LIBRARY_PATH.
This installs the driver libraries and related documents to
/usr/local/lib and
/usr/share/doc/MyODBC, respectively.
Proceed onto
Sección 25.1.3.4, “Configuring a Connector/ODBC DSN on Unix”.
To uninstall the driver,
become root and execute an
rpm command:
shell>su rootshell>rpm -e mysql-connector-odbc
Mac OS X is based on the FreeBSD operating system, and you can normally use the MySQL network port for connecting to MySQL servers on other hosts. Installing the Connector/ODBC driver enables you to connect to MySQL databases on any platform through the ODBC interface. You should only need to install the Connector/ODBC driver when your application requires an ODBC interface. Applications that require or can use ODBC (and therefore the Connector/ODBC driver) include ColdFusion, Filemaker Pro, 4th Dimension and many other applications.
Mac OS X includes its own ODBC manager, based on the
iODBC manager. Mac OS X includes an
administration tool that provides easier administration of
ODBC drivers and configuration, updating the underlying
iODBC configuration files.
You can install Connector/ODBC on a Mac OS X or Mac OS X
Server computer by using the binary distribution. The
package is available as a compressed disk image
(.dmg) file. To install Connector/ODBC
on your computer using this method, follow these steps:
Download the file to your computer and double-click on the downloaded image file.
Within the disk image you will find an installer package (with the
.pkgextension). Double click on this file to start the Mac OS X installer.-
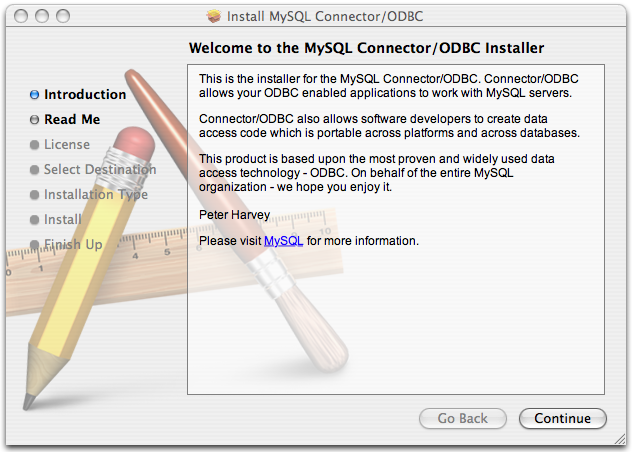
You will be presented with the installer welcome message. Click the Continue button to begin the installation process.
-
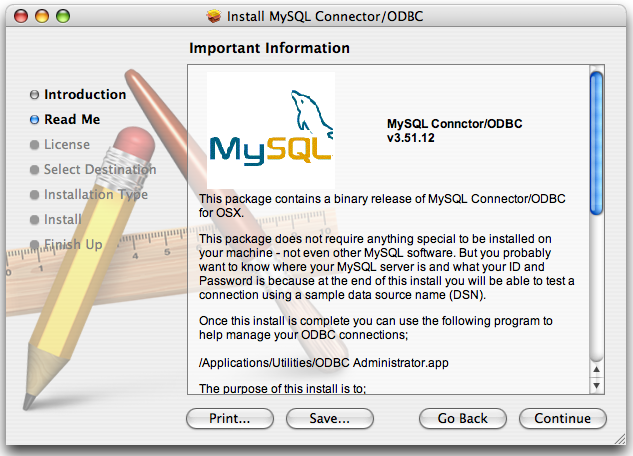
Please take the time to read the Important Information as it contains guidance on how to complete the installation process. Once you have read the notice and collected the necessary information, click Continue.
-
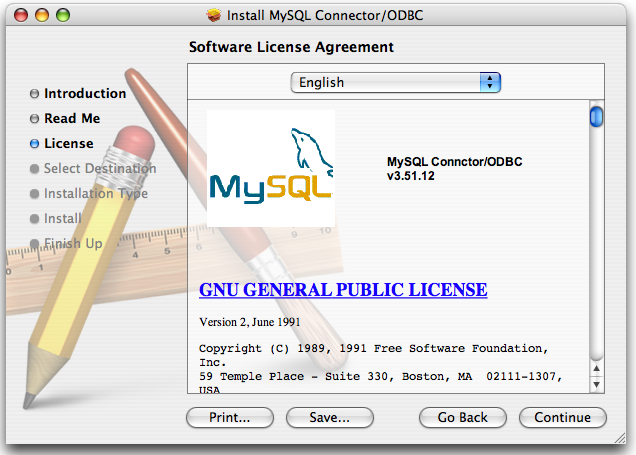
Connector/ODBC drivers are made available under the GNU General Public License. Please read the license if you are not familiar with it before continuing installation. Click Continue to approve the license (you will be asked to confirm that decision) and continue the installation.
-
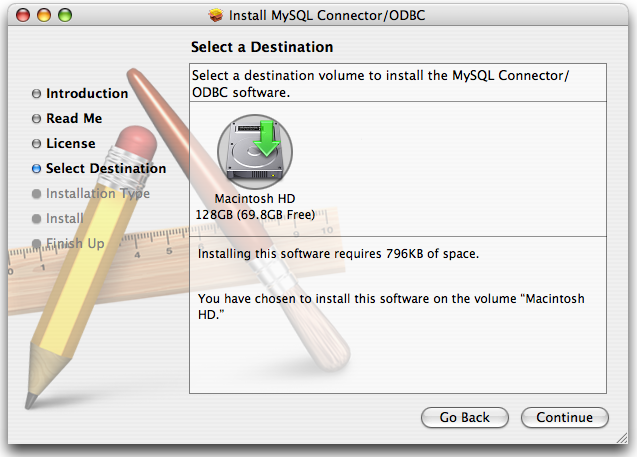
Choose a location to install the Connector/ODBC drivers and the ODBC Administrator application. You must install the files onto a drive with an operating system and you may be limited in the choices available. Select the drive you want to use, and then click Continue.
-
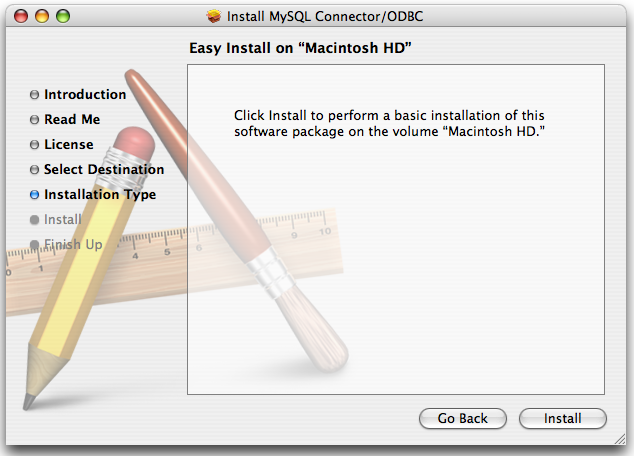
The installer will automatically select the files that need to be installed on your machine. Click Install to continue. The installer will copy the necessary files to your machine. A progress bar will be shown indicating the installation progress.
-
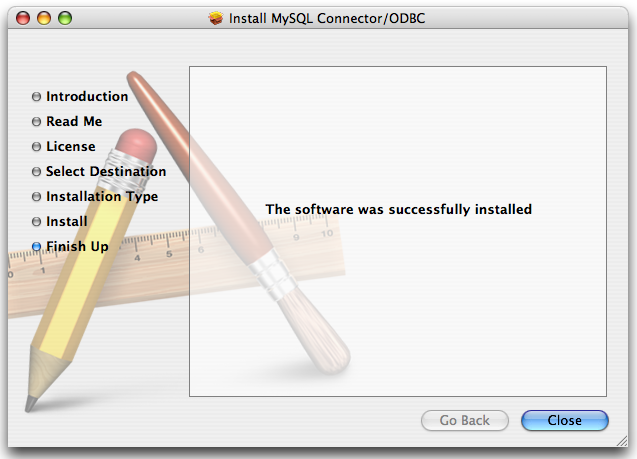
When installation has been completed you will get a window like the one shown below. Click Close to close and quit the installer.
Ésta es una traducción del manual de referencia de MySQL, que puede encontrarse en dev.mysql.com. El manual de referencia original de MySQL está escrito en inglés, y esta traducción no necesariamente está tan actualizada como la versión original. Para cualquier sugerencia sobre la traducción y para señalar errores de cualquier tipo, no dude en dirigirse a mysql-es@vespito.com.
